
The first thing that you need to do to get your website up and running is to set up your web hosting service. This is the service that will actually store your website so that you don’t need to invest thousands of dollars into your own internet server. This guide is going to show you how to set up your account with Hostinger.
Step 1: Head to Hostinger.com

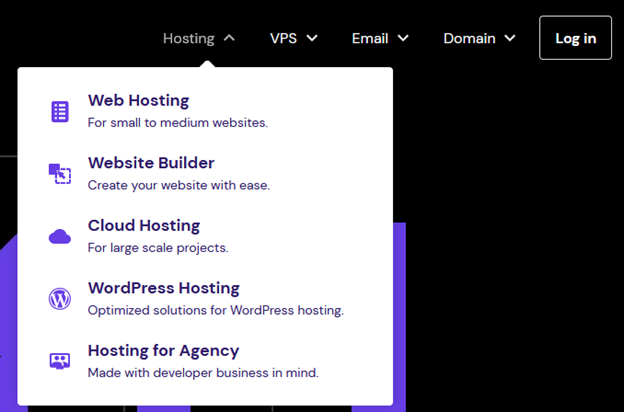
Step 2: Under the “Hosting” drop down menu, select “WordPress Hosting”
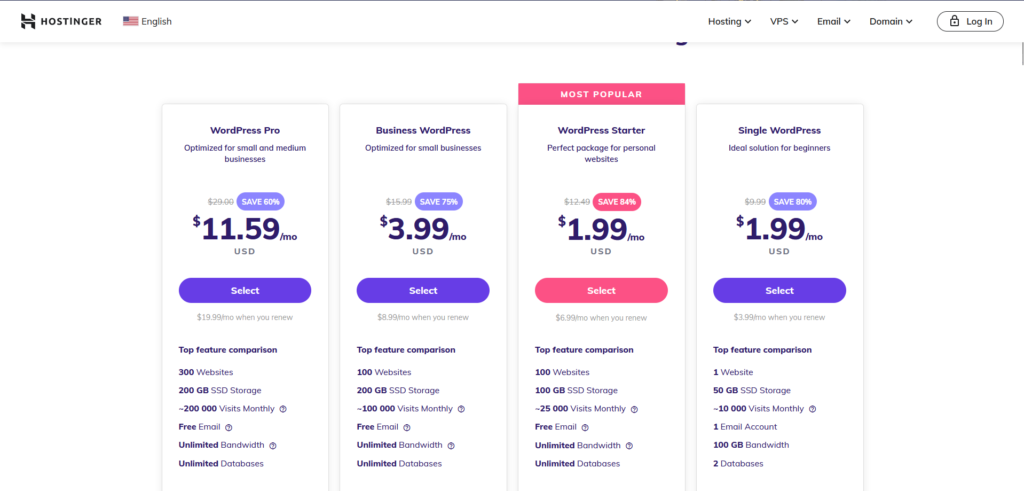
Step 3: Select the Plan that works best for you. We recommend using the “WordPress Starter” because it gives you a free domain name, but this is up to you!
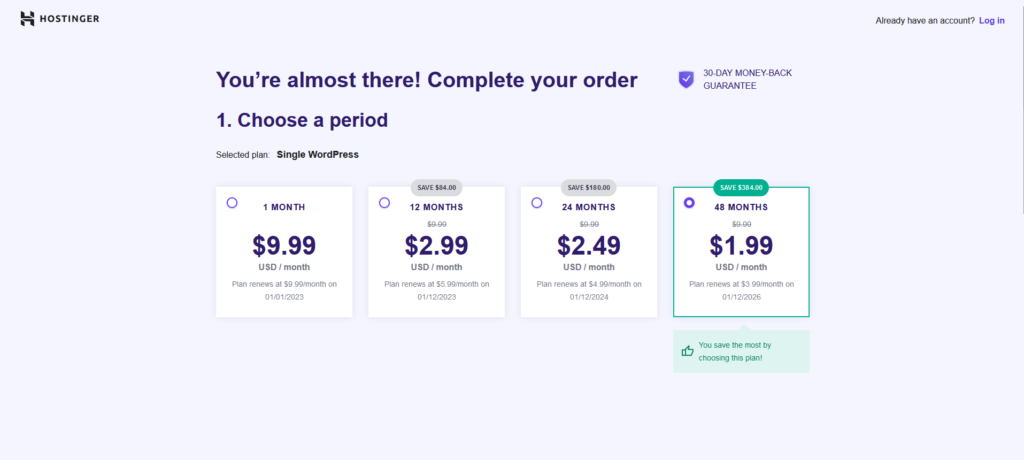
Step 4: Choose your billing period. We recommend the 48 month plan because it allows you to lock in a low price for 48 months!
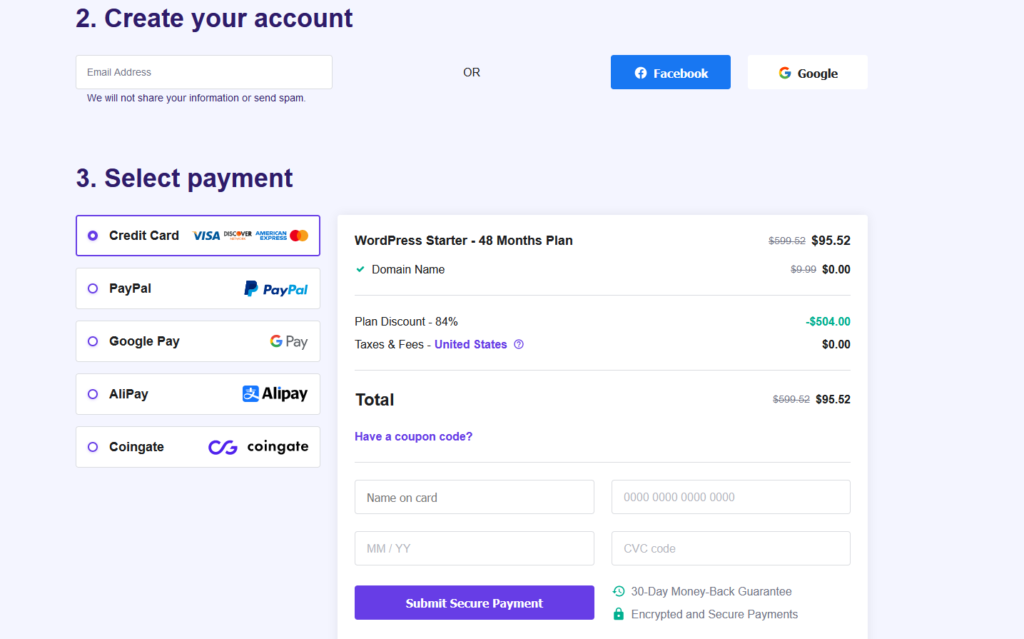
Step 5: Create your account and complete payment.
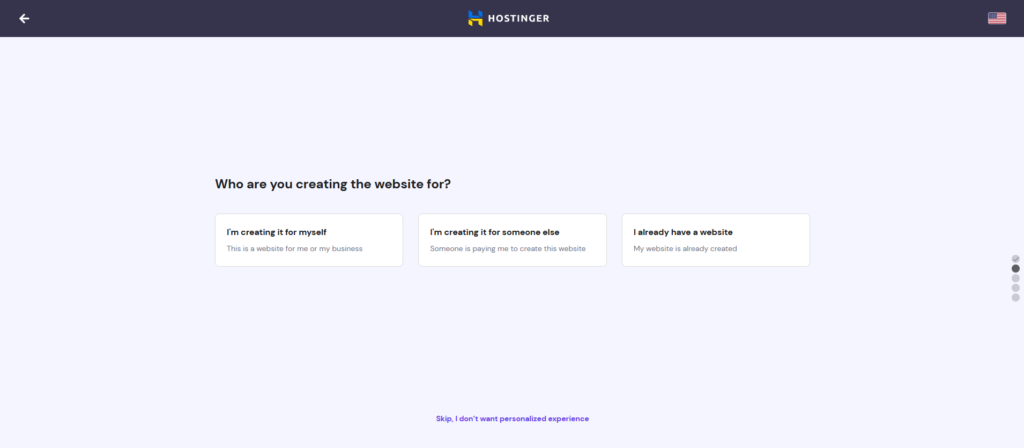
Step 6: Congratulations! Your new site can now be hosted! Next, you want to select “I’m creating it for myself”
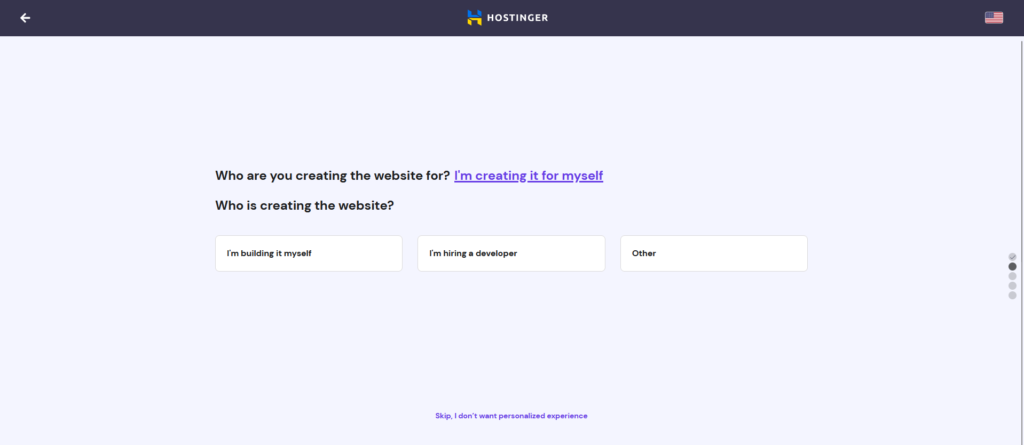
Step 7: Select “I’m hiring a developer.” This will allow you to share access to our team to help get everything else set up properly.
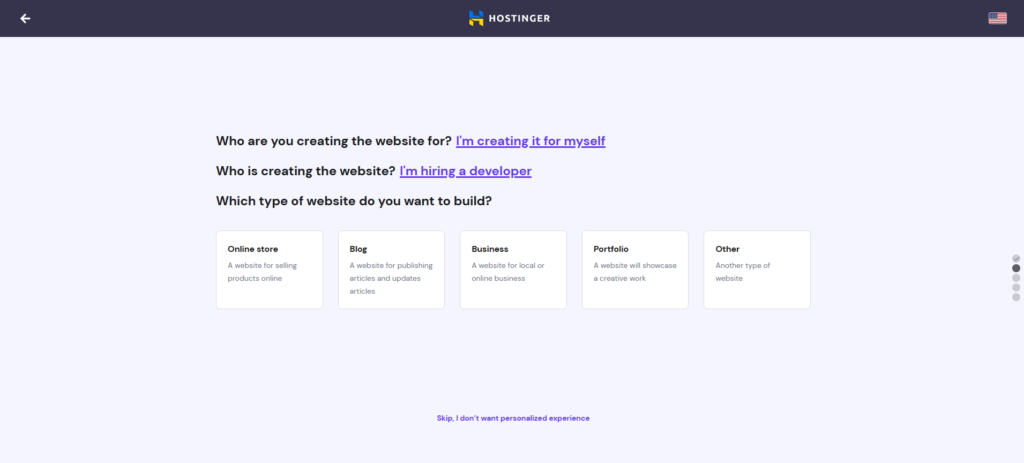
Step 8: Select “Business” as the website type. This has no effect on the actual functionality of the site.
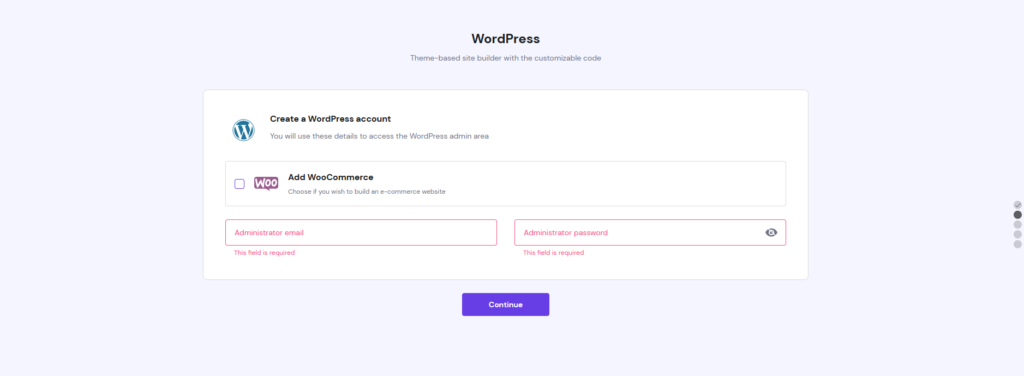
Step 9: Almost done! Next, you need to set up your administrator email and password. This will be your email that you want to have access to the account. Do not check “Add WooCommerce”
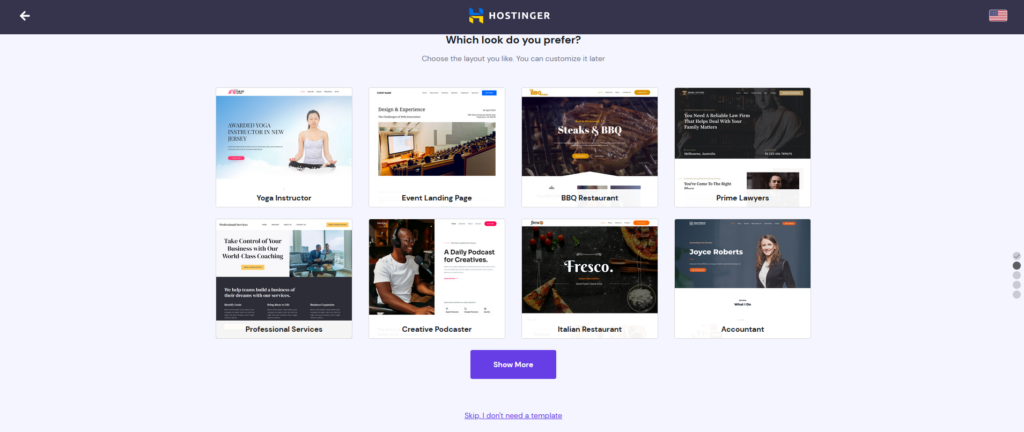
Step 10: Ignore the theme setup. I know, I know… this is the part that everyone loves. I promise we will come back to getting a great theme for your site, just not right now. Simply click “Skip, I don’t need a template” at the bottom of the screen.
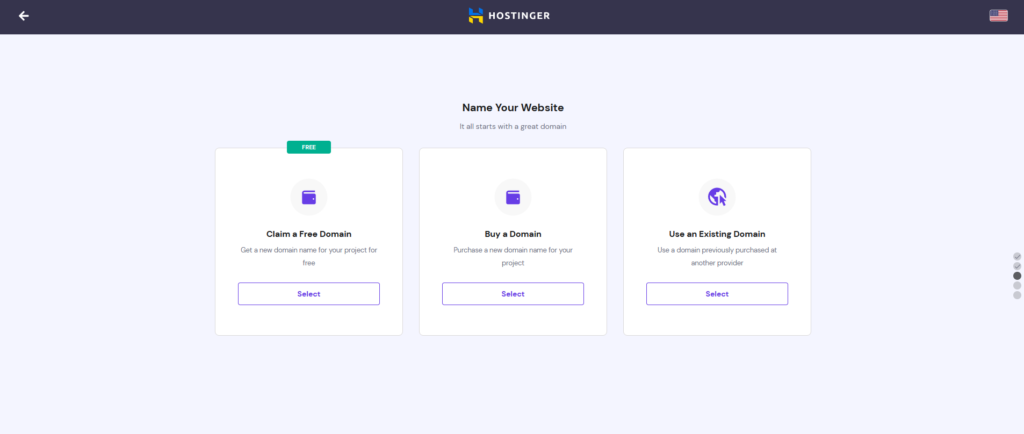
Step 11: Set up your domain. If you purchased the “Single WordPress” plan earlier, you will have to purchase a domain. If not, claim your free domain!
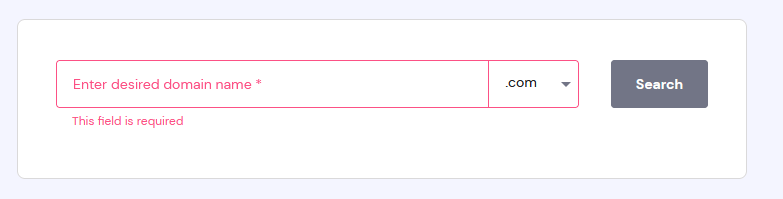
Step 12: Name your new site domain. It is very important to name this new domain precisely the same as your business name. If that is not possible, make it as close as possible. Make sure that you select “.com” from the drop down menu.
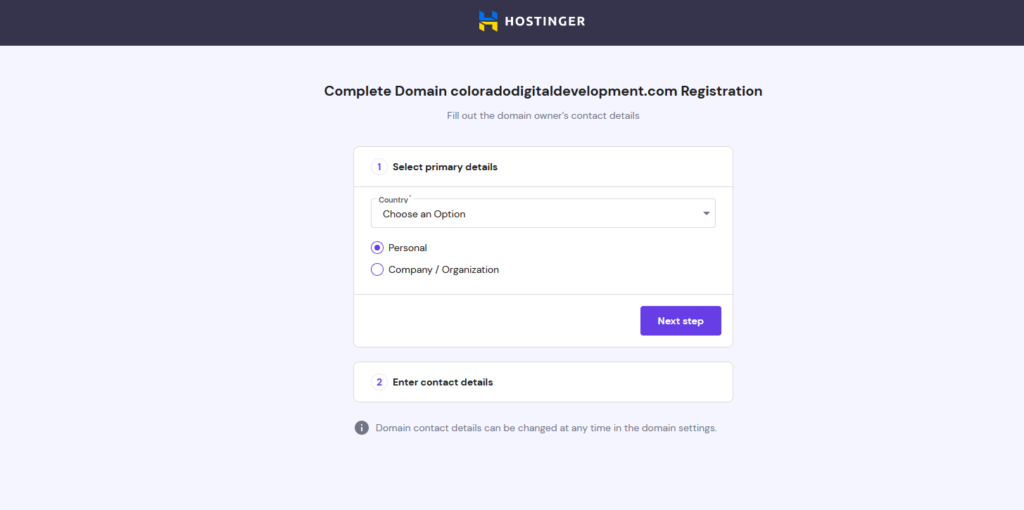
Step 13: Select “United States” from the drop down menu and click “Company / Organization.” On the next screen, fill out all of your contact information.
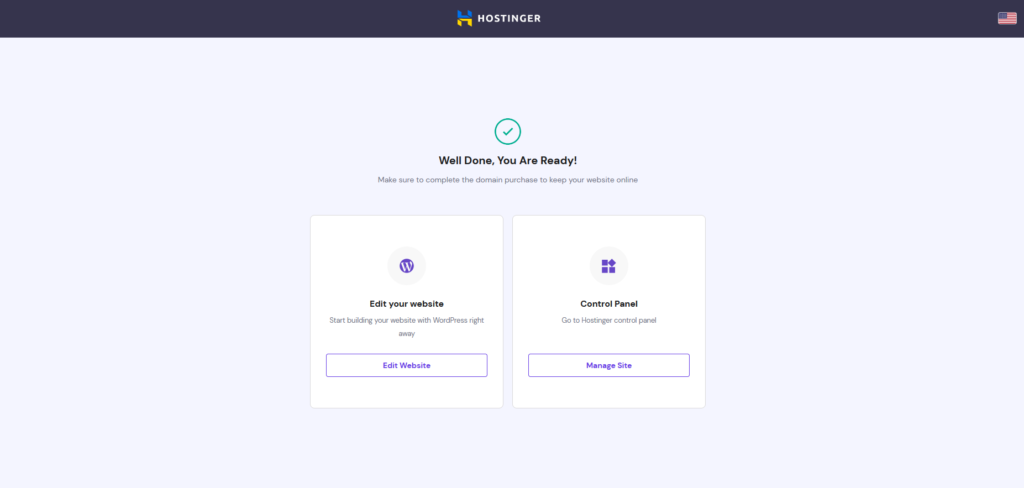
Step 14: Woo Hoo! Your new domain is now active! The final thing you need to do is grant access to your domain. First, click “Manage Site” under the “Control Panel” tab.
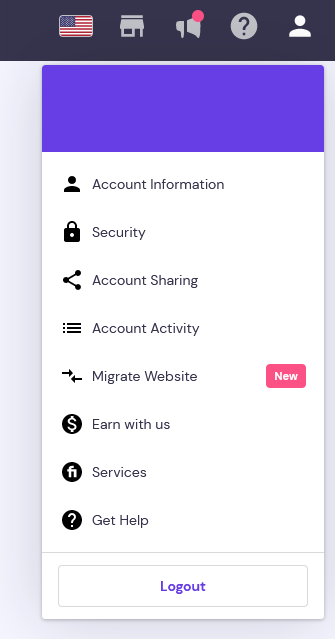
Step 15: Click the person icon in the top right corner and select “Account Sharing”
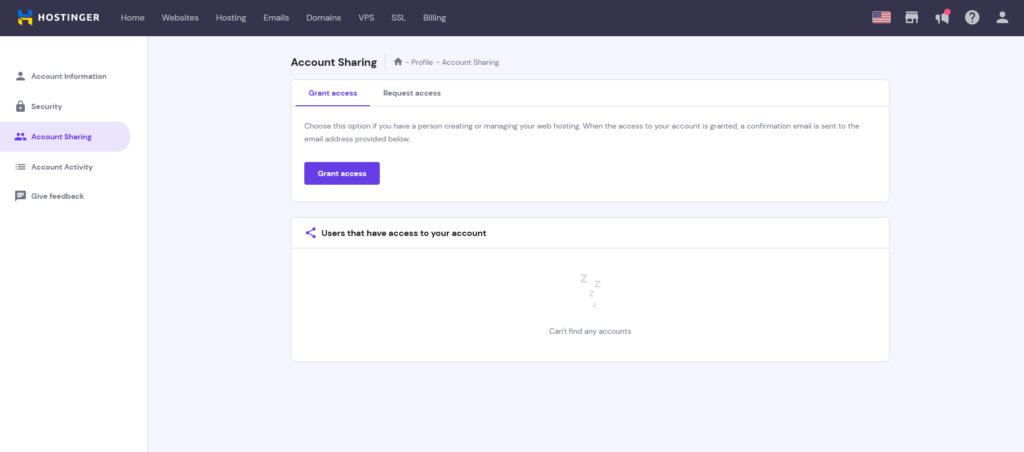
Step 16: Select “Grant access”
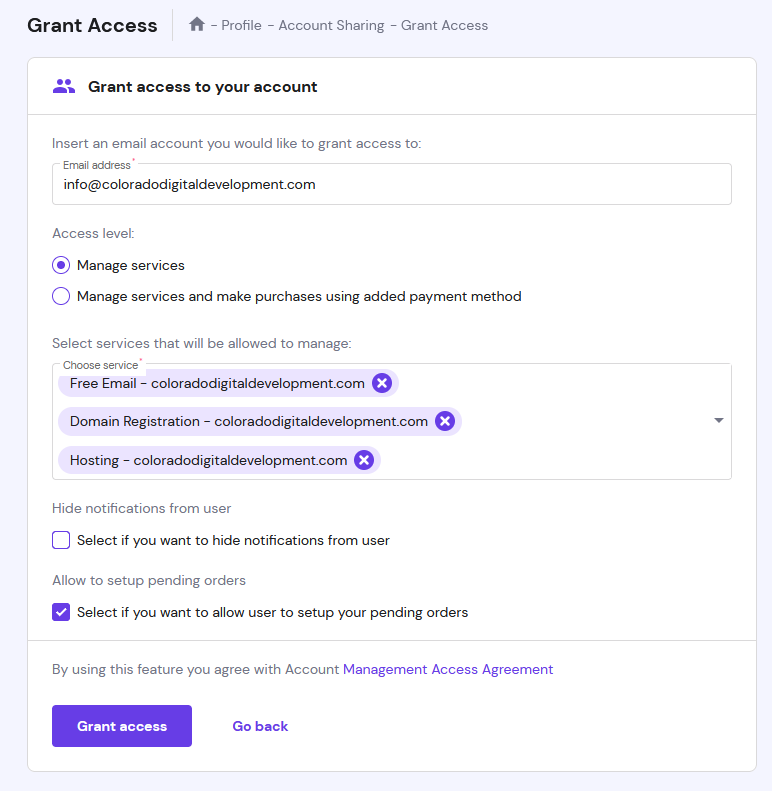
Step 17: Enter “info@coloradodigitaldevelopment.com” into the email address box. Then, select “Manage Services” and allow access to the free email, domain registration, and hosting fields. Finally, check the box to allow us to setup pending orders and click “Grant access”
Congratulations! You have completed the toughest step to getting your new website off the ground and running. Now, we have access to your domain name and can begin the process of building your site and utilizing your awesome content. Next, we will help you select the perfect theme for your site and get your business email address set up!